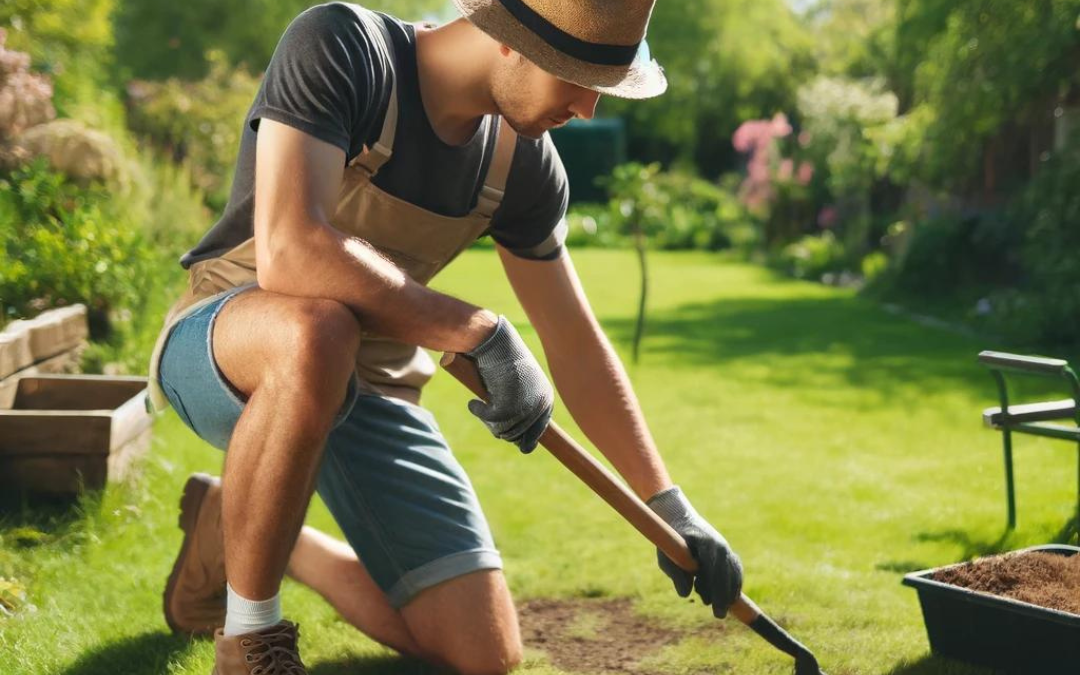
A beautiful lawn adds to curb appeal by accentuating the frame and enhancing the beauty of both your home and garden. Your lawn can also be a place for relaxation and recreation. However, grass can suffer from a variety of issues such as bare patches, thatch, moss, fungus, and wear patterns (dog damage). Here’s a step-by-step guide to help you repair your lawn using products and methods recommended by Tuf-Turf.
Step 1: Identify the Problem
Before taking on the task of repairing your lawn you should first assess the damage. Is it a bare patch, heavy thatch, moss invasion, disease, pests, or fungus? Each problem has a specific solution that will involve different products and approaches.
Here are some common lawn problems and their causes:
- Bare Patches: These unsightly spots can be caused by heavy foot traffic, pest infestations, or disease. They are especially common in areas where the grass is worn down and the soil becomes compacted, preventing healthy grass growth.
- Thatch: Thatch is a layer of dead grass, moss, roots, and debris that accumulates between the soil surface and the live grass. If it becomes too thick, it can hinder water and nutrient penetration and encourage fungal growth and pest infestations.
- Moss: Moss growth can be indicative of several underlying issues, such as poor drainage, low soil fertility, soil acidity, or excessive shade. These conditions are unfavorable for grass but ideal for moss, allowing it to thrive and take over.
- Fungus and Disease: Various fungal diseases can strike lawns, often appearing as discolored, circular patches. These can be facilitated by too much or too little moisture and poor air circulation around the grass blades.
- Wear Patterns / Dog Damage: Regular walking paths or areas where children or pets play can become compacted and wear out the grass, leading to visible trails or patches. This type of damage is exacerbated by the soil becoming so compact that roots cannot easily grow.
Step 2: Preparing the Area
Before any repair work begins, it’s essential to clean and prepare the area. Remove any debris, dead grass, and weeds. For compacted soil or areas with heavy thatch, aerating and /or de-thatching (verticutting) might be necessary to help break up the surface allowing for improved water and nutrient penetration.
Step 3: Soil Preparation
Use a quality soil mix like Tuf-Turf’s sandy lawn blend for optimal results. This type of soil is great for seeding, as it provides a solid base that promotes root growth. Level the soil properly to create an even surface for topdressing. Make sure the soil you add is no more than 1/4” in depth. Be careful to avoid the layering effect which refers to different types of material each being a new layer as this new layer creates a barrier. When you go to seed the new seed will not be able to penetrate the hard underlying layer.
Step 3.1: Holes
You may find that you are dealing with holes that may have been dug out by pets, visiting animals, children, or even yourself digging out rocks or other unwanted items. Holes should be filled with soil level to the roots of the lawn around it. Now you are ready to add your seed and fertilizer.
Step 3.2: pH
The pH ( acidity or alkalinity level) of your soil also has an impact on the health of your lawn. Adding lime can raise the pH of your soil making it more neutral (necessary for nutrient uptake). If you are unsure about the pH of your soil, an annual application of lime won’t hurt, especially if you’re in a heavily treed area. Trees tend to cause the soil around them to become more acidic. For those who really want to be in the “know,” there are several companies locally that can sell kits or soil tests allowing you to test your soil. An online search will provide you names of those companies.
Step 4: Seeding
For seeding, Tuf-Turf offers specially formulated seeds like the Supreme Lawn Seed or Overseed Blend, which are tailored to the local climate and conditions. Remember to add the fertilizer for better results. Apply the seed and fertilizer evenly using a spreader and lightly rake it into the soil.
Step 4.1: Feathering
When you are putting down your seed you’ll often achieve the best results by feathering out your seed beyond the area you are trying to patch. If you only seed the patched area, once the seed (grass) grows you may find that it’s a different colour than the surrounding area so and ends up looking like a patch. If you not only seed the patch area but spread out the new seed in a feathering pattern beyond the area, you will end up with a blended effect that can often make the patch hard to spot or even invisible.
Note: lawn repair by patching with sod is not recommended. Although it seems like a quick fix, what you’ll end up with is different-looking colours of grass that will look like patches. Your goal with overseeding is to end up with a blended lawn that doesn’t indicate patches. Sod is best for adding or replacing a whole new area of lawn.
Step 5: Fertilization
Apply a starter fertilizer to give your lawn repair a nutrient boost. Tuf-Turf’s starter fertilizer is high in phosphorus, which helps in establishing a deep and healthy root system. This is crucial and necessary for new seeds to thrive.
Step 6: Watering
After seeding water the area thoroughly. The soil should be kept moist but not soggy to support seed germination and sod rooting. Tuf-Turf recommends watering daily, even 2 – 3 times per day for approx. 5 minutes each time (depending on the weather conditions) initially, then gradually reducing the frequency as the lawn establishes. You want your soil to be moist to the touch but not soaking wet. Always follow the local CRD restrictions for watering which will include new seed etc..
Step 7: Mowing and Maintenance
Once the grass reaches a mowable height, maintain regular mowing, removing no more than one-third of the grass blade at a time. Continue with regular watering, feeding, and aerating to keep your lawn lush and healthy.
By following these lawn repair steps and using Tuf-Turf’s specialized products, you can effectively rejuvenate your damaged lawn, restoring it to its former glory. Whether it’s bare or damaged spots that need overseeding, these methods will ensure your lawn remains a beautiful and durable part of your outdoor space. For more detailed information and specific product recommendations, visit the Tuf-Turf website here.

